Smart Email Verifier Chrome Extension
Documentation — everything you need to get started, activate your license, and manage your subscription.
← Back to product pageGetting Started
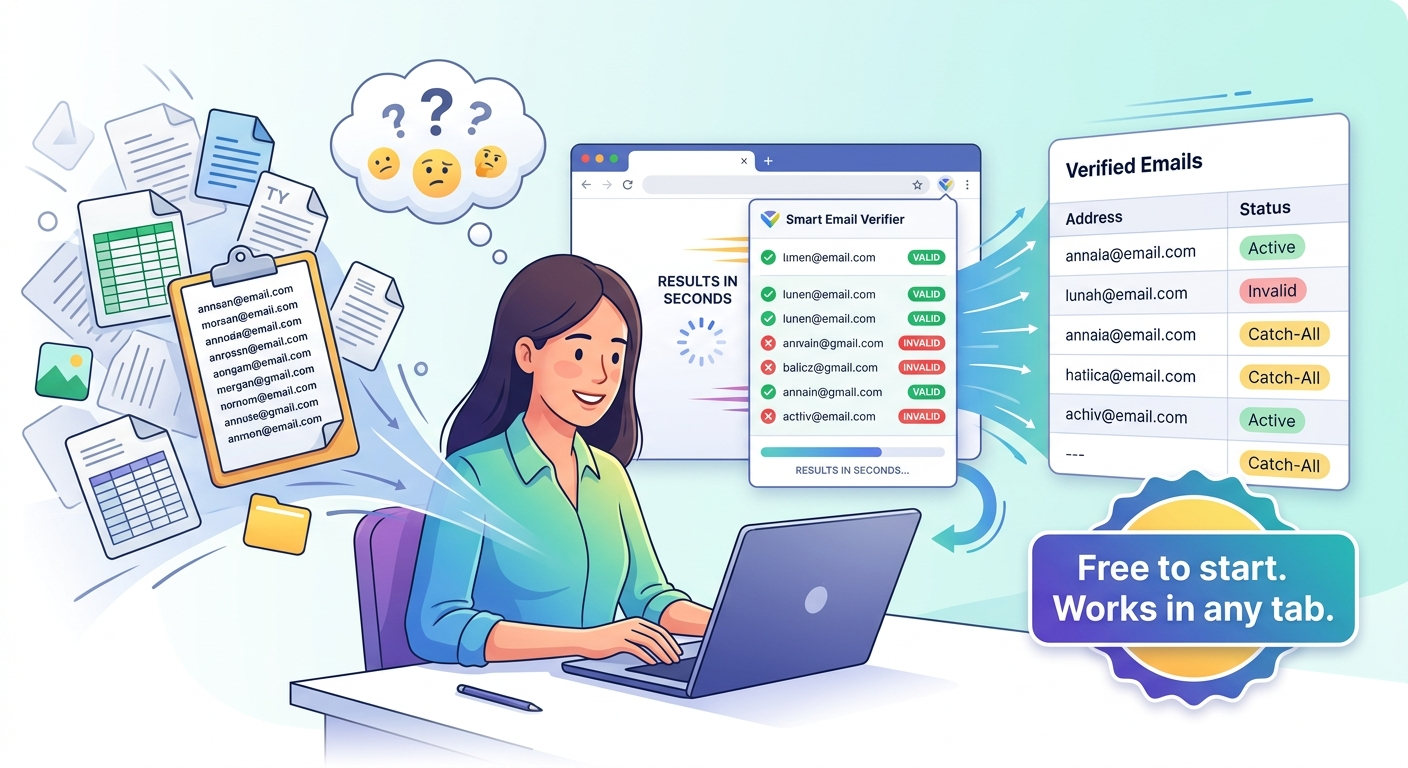
Smart Email Verifier is a Chrome extension that lets you bulk-verify email addresses directly from your browser — no Google Sheets or external tools required. You bring your own API key from any supported provider, automatically fetch emails from the the open website or add them directly in the extension popup, and get results in seconds.
Installation:
- Open the Chrome Web Store listing and click Add to Chrome.
- Confirm the permissions prompt — the extension requests
activeTabandstorageonly. - Click the puzzle icon in your Chrome toolbar, then pin Smart Email Verifier for easy access.
- Click the extension icon to open the popup. You’ll see three tabs: Verify, Results, and License.
Note: The extension works on any tab. You don’t need to be on a specific website — just open it from the toolbar whenever you need it.
Setting Up Your API Key
The extension sends emails to your chosen provider’s API for verification. You supply the API key — we never store or see it. It stays in Chrome’s local storage on your device only.
Supported providers:
- NeverBounce — get your API key from the NeverBounce dashboard under API → Credentials.
- ZeroBounce — get your API key from the ZeroBounce dashboard under API → API Key.
- MillionVerifier — get your API key from your MillionVerifier account under API.
To add your API key:
- Open the extension popup and click the Verify tab.
- Click the provider name (NeverBounce, ZeroBounce, or MillionVerifier) to select it.
- Click the settings icon or the provider name label to expand the API key field.
- Paste your key and press Save. The key is stored locally — you only need to do this once per browser profile.
You can switch providers at any time from the Verify tab. Each provider stores its own API key.
Verifying Emails
Once your API key is saved, you’re ready to verify.
Option 1 — Paste a list:
- Open the popup and click the Verify tab.
- Paste your email list into the text area (one address per line).
- Select your provider using the toggle at the top.
- Click Verify — results appear in the Results tab as they come in.
Option 2 — Upload a file:
- Click Upload file below the text area.
- Select a
.txtor.csvfile. For CSV files, the extension reads the first column by default. - The email list populates the text area. Click Verify as usual.
Daily quota:
Your daily quota is shown at the bottom of the Verify tab. Free plan users get 50 verifications/day. Premium users get 500/day. The counter resets at midnight UTC.
Tip: For large lists, split them into batches matching your remaining quota. Download partial results from the Results tab as you go.
Understanding Results
After verification, each email gets one of the following statuses:
- Valid — The address exists, the mailbox is active, and the provider is confident it will deliver. Safe to send.
- Invalid — The address does not exist, the domain has no mail server, or the mailbox is permanently disabled. Remove from your list.
- Catch-all — The domain accepts all emails regardless of whether the mailbox exists. Deliverability is uncertain. Use with caution.
- Unknown — The provider could not determine deliverability with confidence. This can happen with temporary server issues or restrictive mail servers.
- Disposable — The address uses a temporary/disposable email service. Usually safe to remove.
- Spamtrap — The address is a known spam trap. Remove immediately to protect your sender reputation.
Downloading results:
- Click Copy CSV to copy results to your clipboard in comma-separated format.
- Click Download CSV to save a
.csvfile with columns:email,status,error_reason.
The error_reason column gives provider-specific detail for invalid or unknown results (e.g., mailbox_not_found, domain_not_found, catch_all).
Free Plan
The free plan gives you full access to the core verification workflow — no credit card, no account required.
- 50 verifications per day — The quota resets automatically at midnight UTC. Each address verified counts as one verification.
- All 3 providers supported — NeverBounce, ZeroBounce, and MillionVerifier. Bring your own API key.
- Paste or upload your list — Paste emails directly (one per line) or upload a
.txtor.csvfile. - Copy or download results — Copy to clipboard or download as CSV with full status and error reason columns.
- Basic error diagnostics — Know why an address failed: invalid syntax, expired domain, spam trap, or provider-specific codes.
- No credit card required — Fully functional with no payment information needed.
Activate Your License
After purchasing the Premium plan, you’ll receive a license key by email. Follow these steps to activate it.
- Open the popup → click the “License” tab — Click the Smart Email Verifier icon in your Chrome toolbar. Navigate to the License tab.
- Paste your license key — Copy the key from your purchase confirmation email and paste it into the license key field.
- Click “Activate” — The extension validates your key within a few seconds. The status indicator updates immediately.
- Quota and expiry shown — Once active, the License tab shows your 500/day quota, verifications remaining today, and your license expiry date.
Tip: If activation fails, double-check that you copied the full key with no trailing spaces. License keys are case-sensitive.
Moving to a new device or browser profile:
Your license is tied to your Chrome profile. If you reinstall Chrome, switch computers, or clear extension data, just repeat the activation steps above. Use the one-click reset button on the License tab if you need to transfer your license to a new device and the old activation is blocking it.
Upgrade to Premium
The Premium plan gives you 10× the daily quota and priority support — ideal for sales teams, marketers, and anyone who verifies large lists regularly.
- 500 verifications/day — vs. 50/day on the free plan
- Priority support — Response within 24 hours
- Quota & expiry visible in popup — Always visible at a glance in the License tab
- One-click license reset — Transfer to a new device instantly
- Early access to new providers — New integrations available to Premium users first
The Premium plan is $79/year, billed annually via Stripe. After payment, your license key is emailed to you instantly — see How to Activate Your License above.
Quota Not Resetting?
Quota resets at midnight UTC — not your local timezone. The daily quota counter resets at 00:00 UTC each day. If you’re in UTC-5, your quota resets at 7:00 PM local time. If you’re in UTC+5:30, it resets at 5:30 AM local time.
Still showing 0 after the reset time? Try the following in order:
- Close and reopen the extension popup (the counter syncs on open)
- Check your internet connection — quota sync requires a brief API call
- If you have Premium, navigate to the License tab and click Re-activate
- If the issue persists, contact [email protected] with your license key
Premium quota resets separately from the free quota. Activating Premium replaces the free 50/day quota with the Premium 500/day quota. Unused free-tier verifications do not carry over.
API key errors affecting quota display? If your API key has expired or run out of credits with your provider, verifications will fail before consuming your daily quota. Check your provider dashboard to confirm your API key status and remaining balance.
Billing and Renewals
How does the annual subscription work? The Premium plan is billed annually via Stripe at $79/year. Payment processes immediately at purchase and renews automatically on your billing anniversary date each year.
How do I cancel? Cancel at any time through the Stripe customer portal. A link to manage your subscription is included in your purchase confirmation email and every renewal receipt. After cancelling, your license key remains active until the end of the current billing period.
Will I be notified before renewal? Yes. Stripe sends a renewal reminder email 7 days before your next charge. Use the link in that email to access the customer portal if you want to cancel before renewing.
What is your refund policy? Renewals are non-refundable once processed. However, you can cancel before your next billing date to prevent future charges. Your license continues working through the period you paid for. If you have a billing issue, email us at [email protected] and we’ll do our best to help.
What happens to my license after cancellation? Your license key stays active until the expiry date shown in the popup — even after you cancel. After expiry, you revert to the free plan (50 verifications/day). You can re-subscribe at any time to restore Premium access immediately.
Can I use my license on multiple computers? One license key can be active on one Chrome profile at a time. Use the one-click reset on the License tab to transfer to a new device. If you need simultaneous multi-seat access, contact us at [email protected].
Still have questions? Email us at [email protected] — Premium users get priority responses within 24 hours.